How to video: Create your own drill template
<iframe width="560" height="315" src="https://www.youtube.com/embed/GNN0a1ppXfM?si=kPWaZzbQscsYU5q6" title="YouTube video player" frameborder="0" allow="accelerometer; autoplay; clipboard-write; encrypted-media; gyroscope; picture-in-picture; web-share" referrerpolicy="strict-origin-when-cross-origin" allowfullscreen></iframe>
Tools needed
- Pencil
- Folding rule / tape measure
- Power drill - Screwdriver
- Handles & mounting screws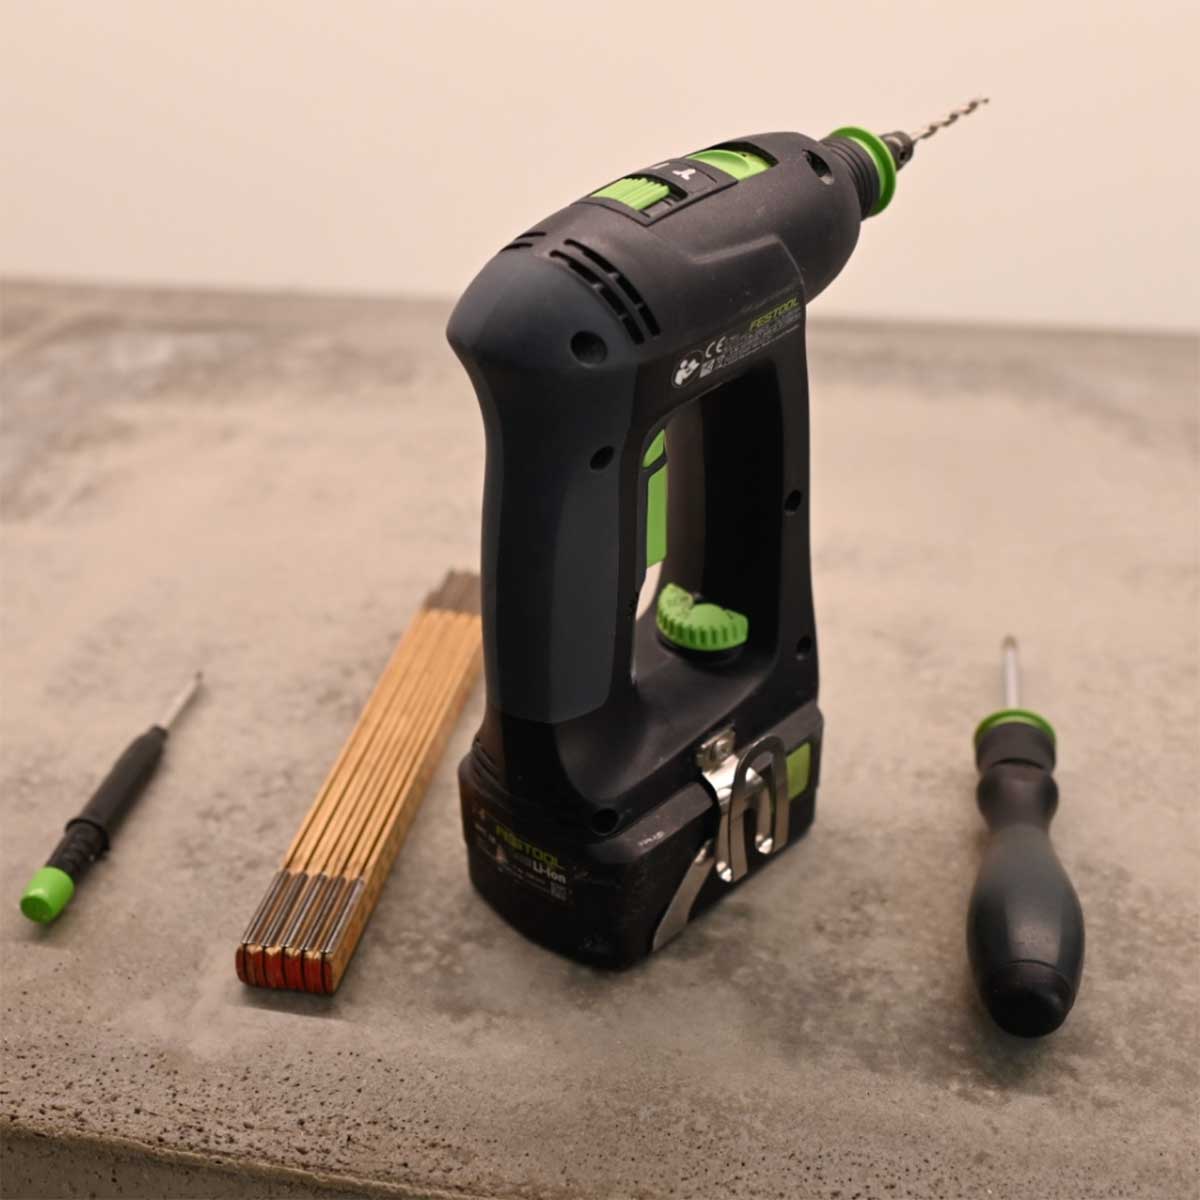
Materials needed
- Sturdy cardboard
- Wooden sticks
- Wood screws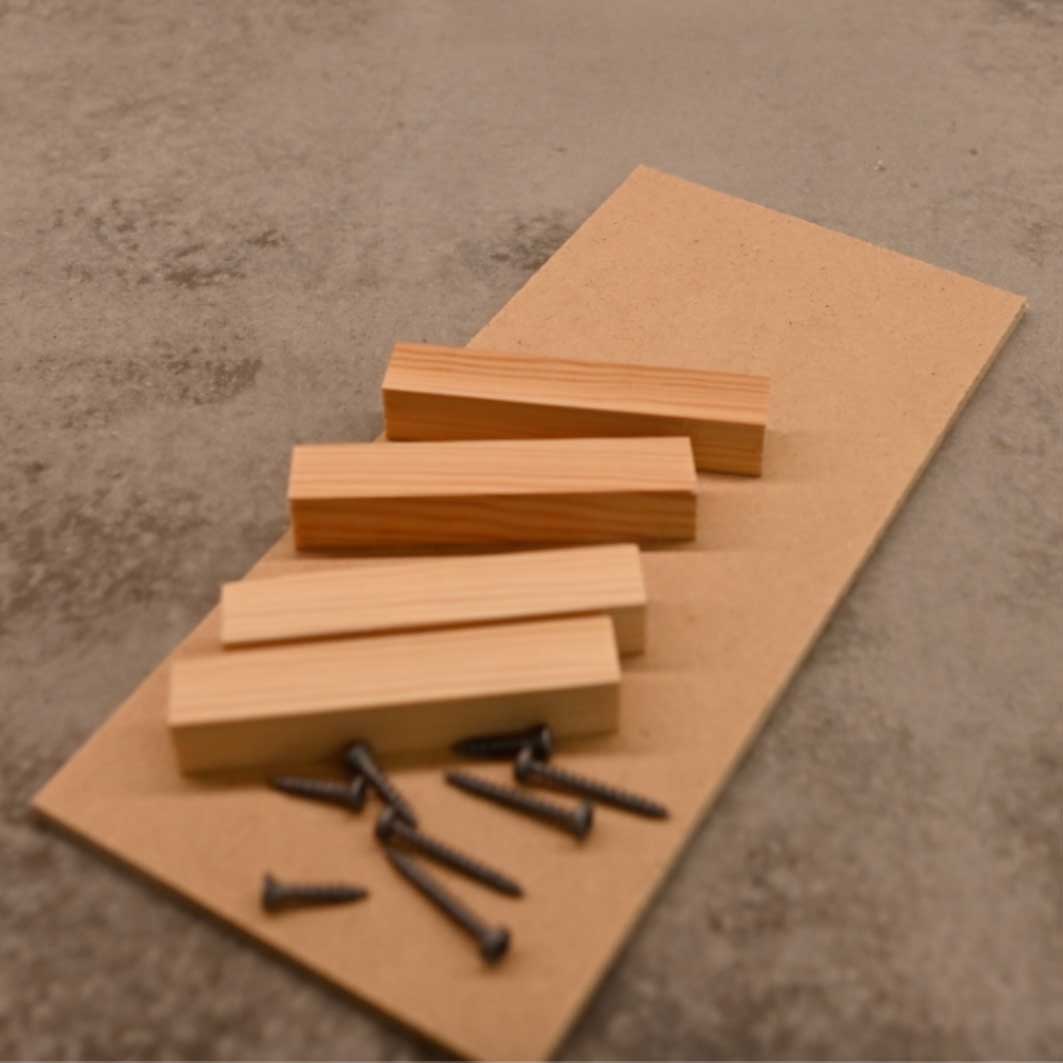
Try to use the leftovers from the renovation or what-ever you have at home.
Let us start with the guide:
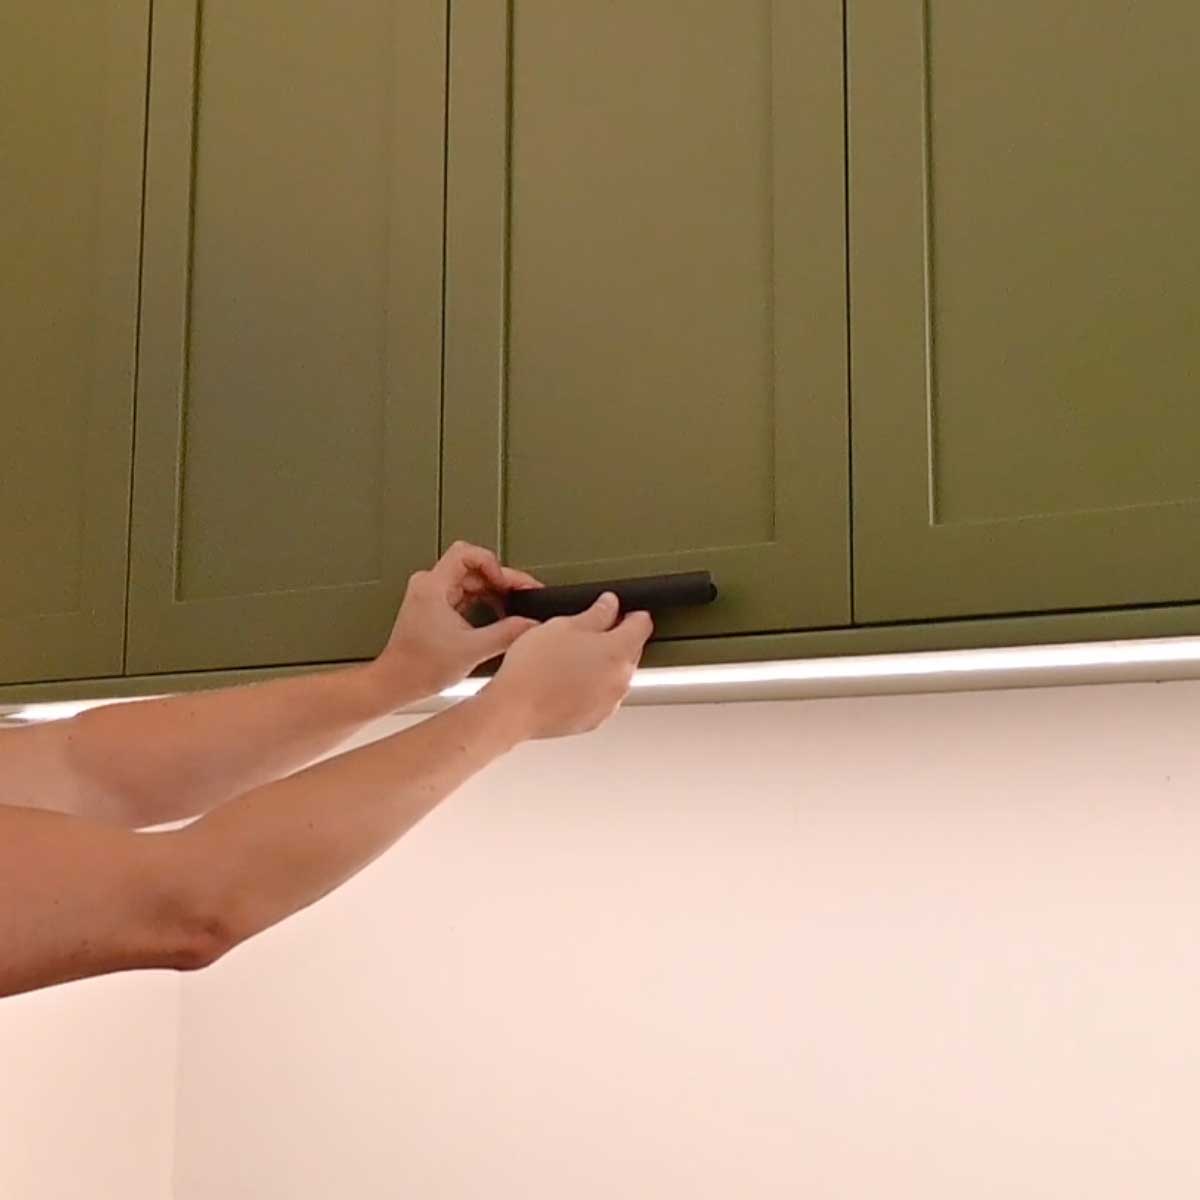
Determine the desired handle placement
In the end it is up to you how you want the handles and knobs to be placed. Move around the handles to see how it looks and feels best.
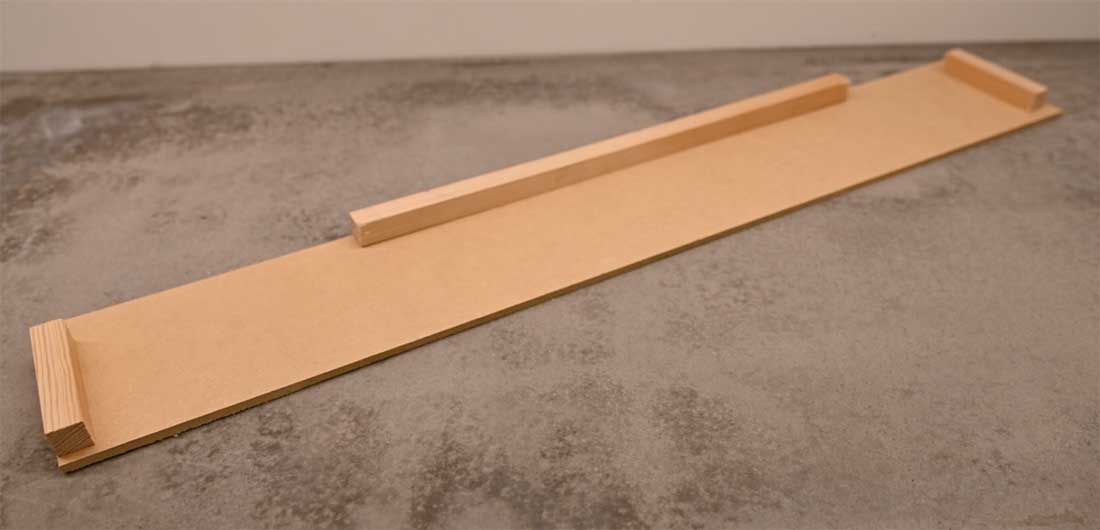
Build the template
Below an example of a template for a wide drawer.
Mark where to drill
Mark where to drill the holes on one cabinet door.

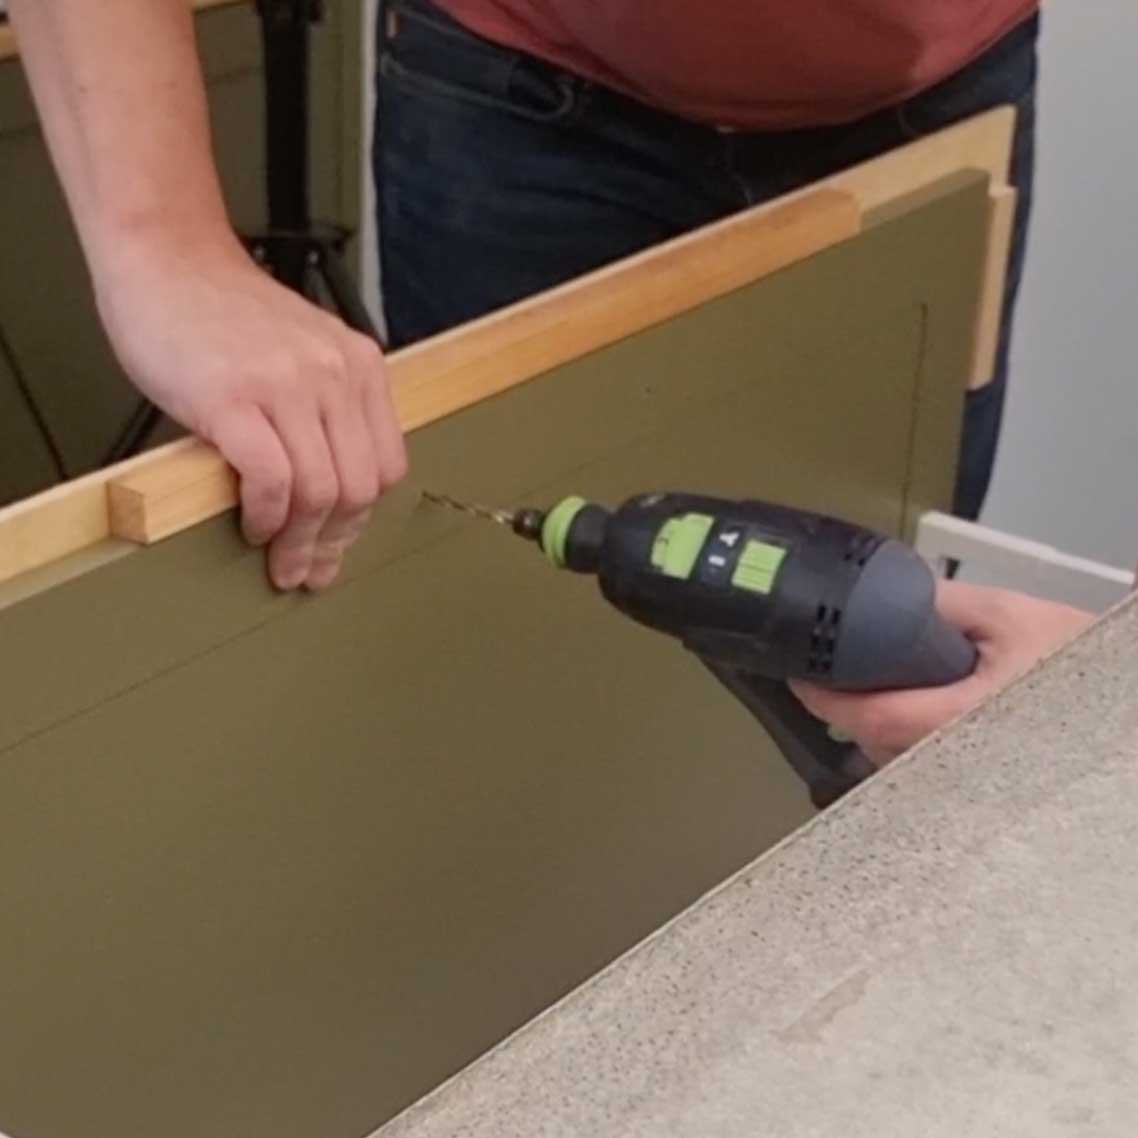
Drill the holes
Drill the holes from the front of the cabinet, where you made the marks.

Make the holes in the template
Place the template in front of the cabinet you just drilled. Then drill from the back side of the cabinet, through the holes you just made and through the template.
Template is ready
Now your drill template is ready to be used on all other cabinet doors.